Booksmaker.ai Complete Guide – How to Write Books with AI
Booksmaker.ai is an AI-assisted writing platform that guides you from idea to finished book.
Last updated: October 9, 2026
Note on AI image generation
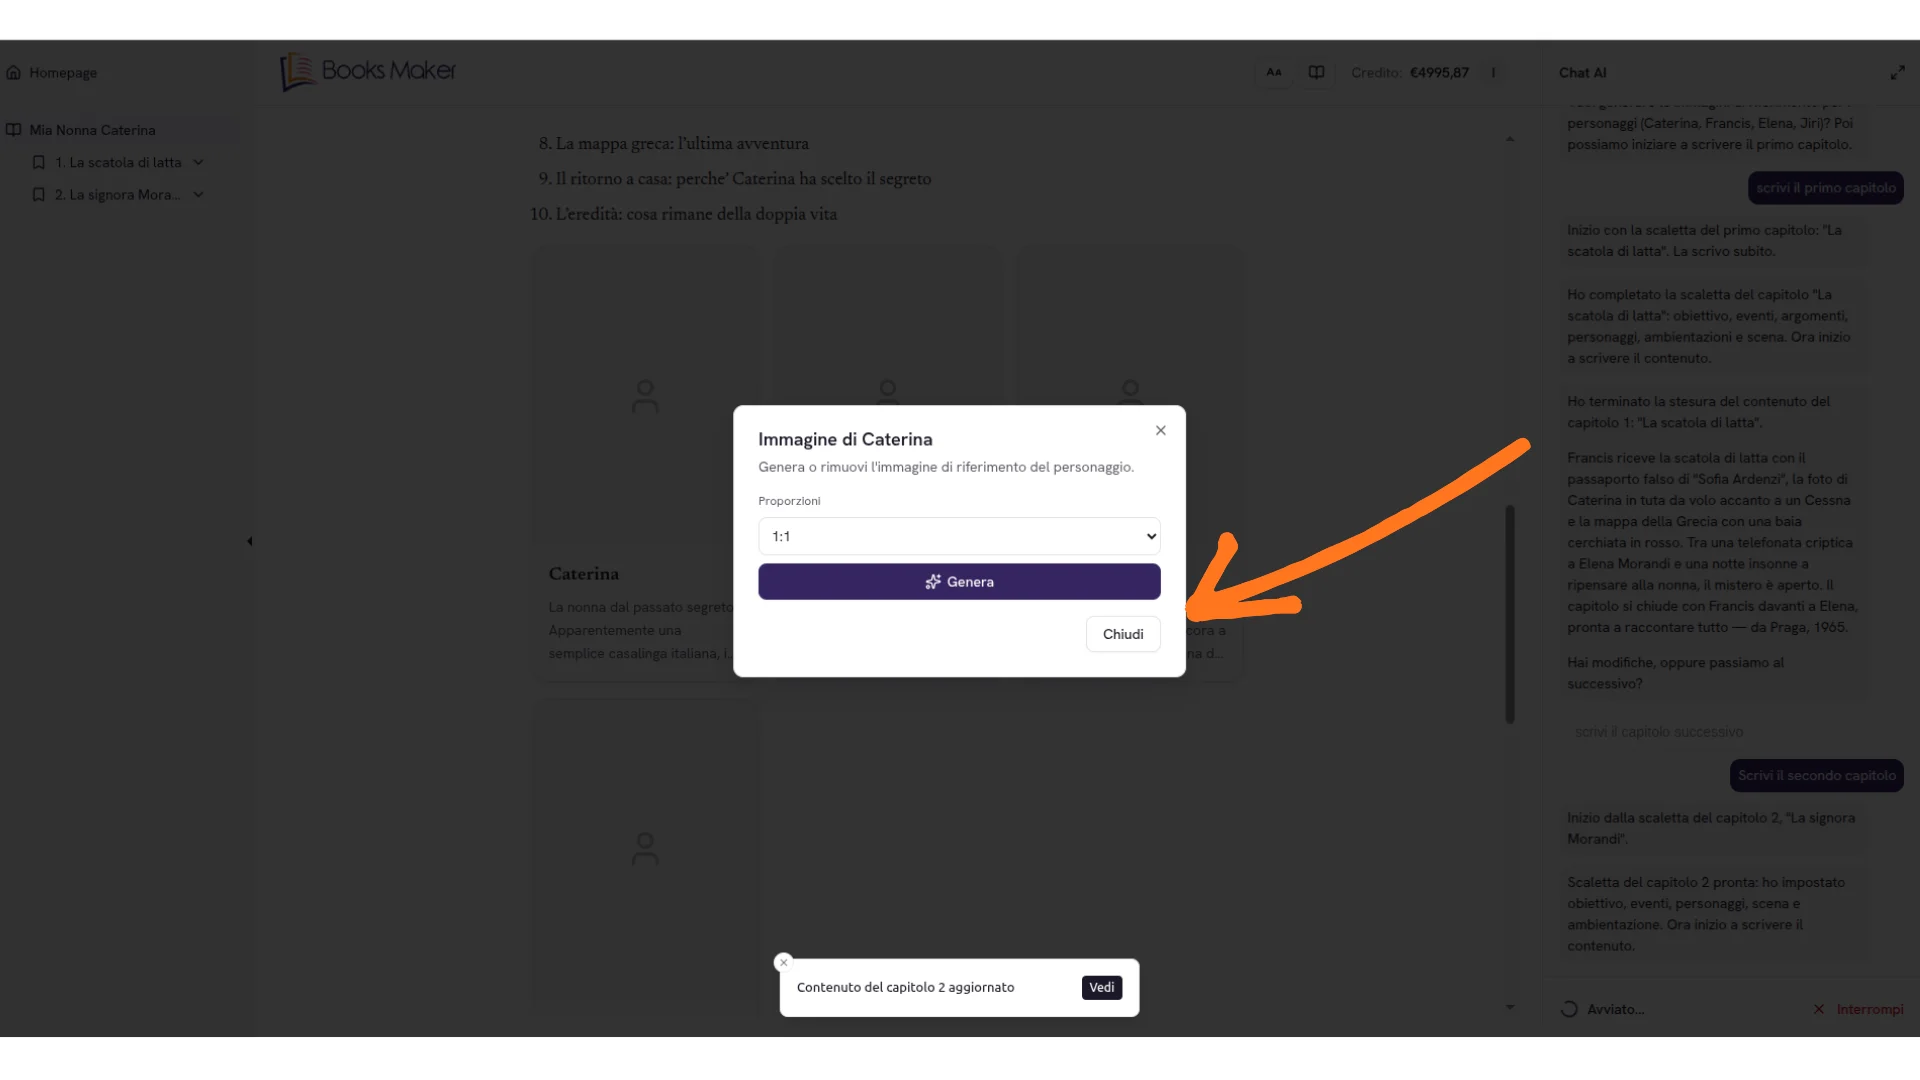
Following the entry into force of the AI Act, we have removed AI image generation to ensure the highest level of copyright protection and content safety. In the meantime, you can continue to customize your books by uploading your own images directly via the upload option.
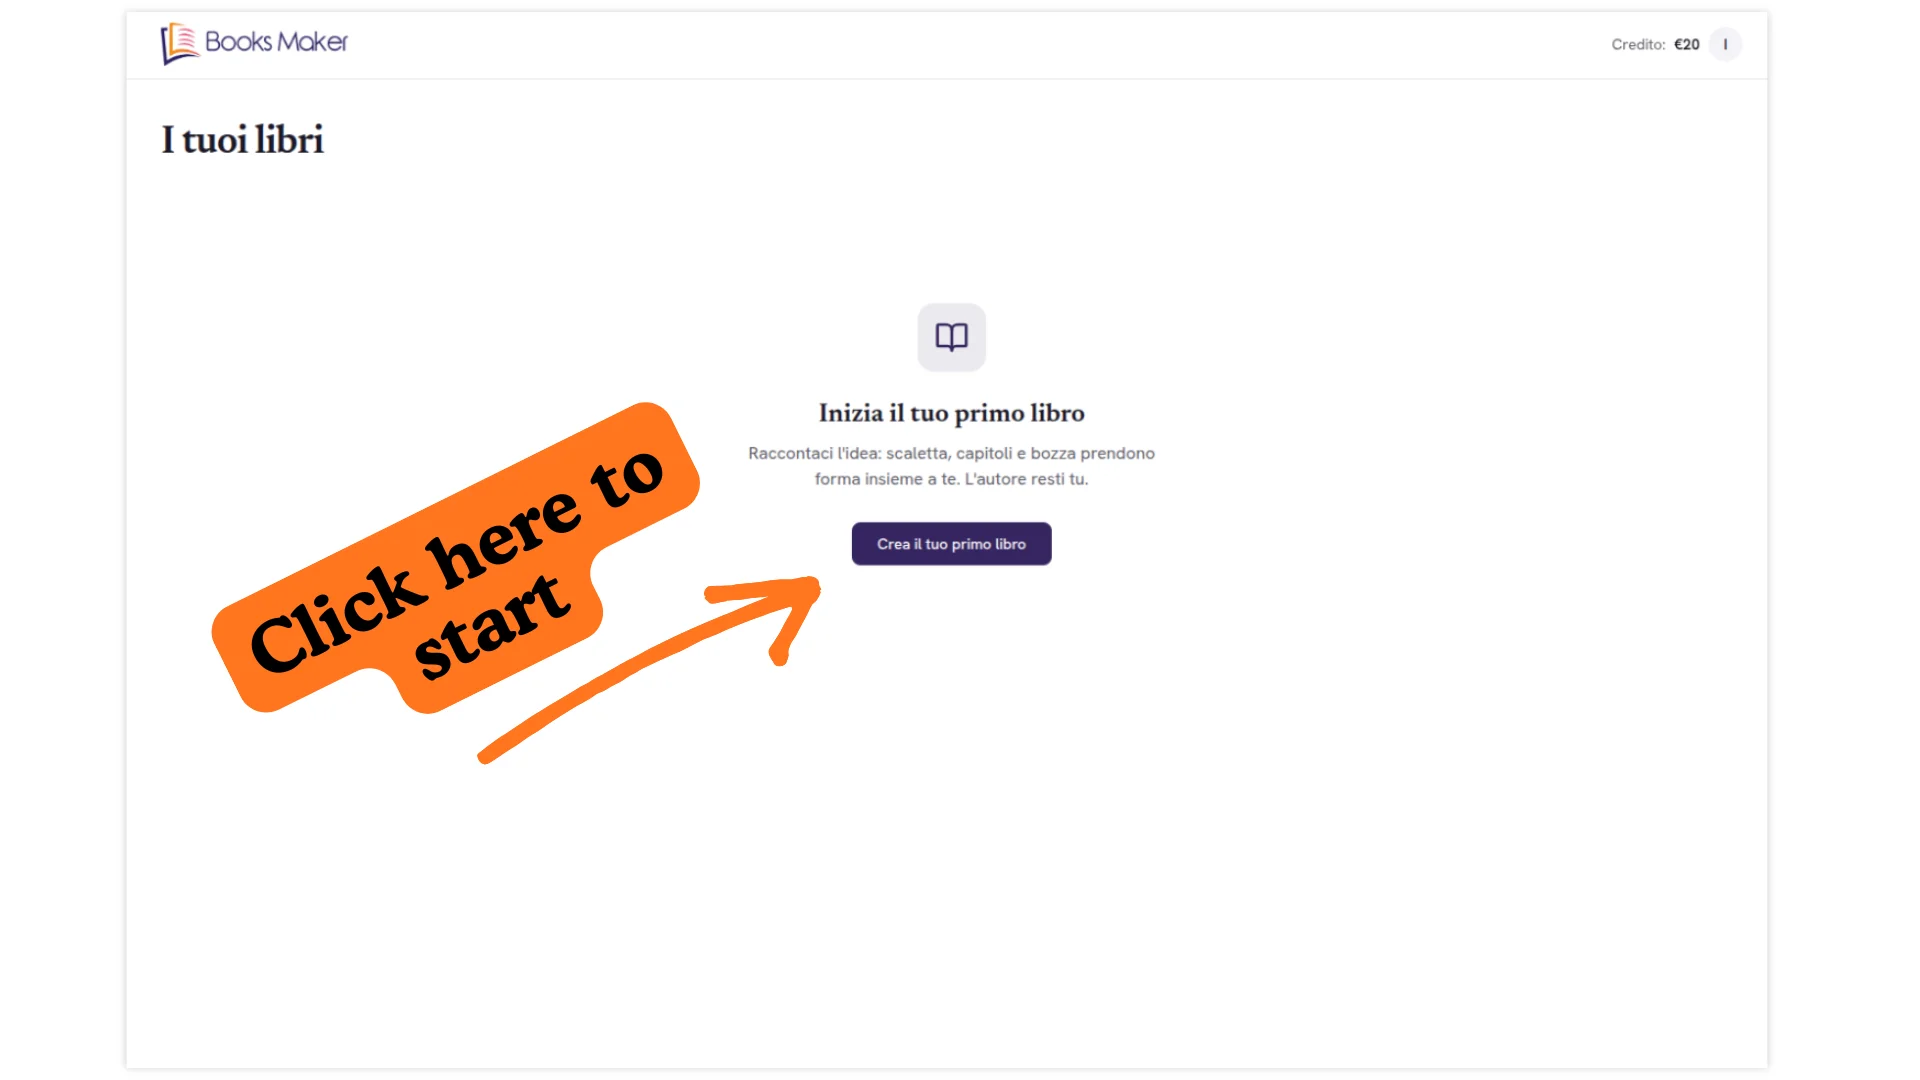
Dashboard & Library
After logging in, you land on the "Your Books" dashboard. Here you'll find:
- A list of your books, each showing: Title, Target audience (e.g., Preschool, Adult), Genre(s) (e.g., Adventure, Comedy, Biography), Page count, Creation date
- The "Add New Book" button to start a new project
- Your available credit displayed at the top right
- The user menu (avatar icon) for settings and billing
Creating a New Book
Click "Add New Book" to open the creation form.
Enter the book title, define the audience, choose one or more genres, language, and number of pages.
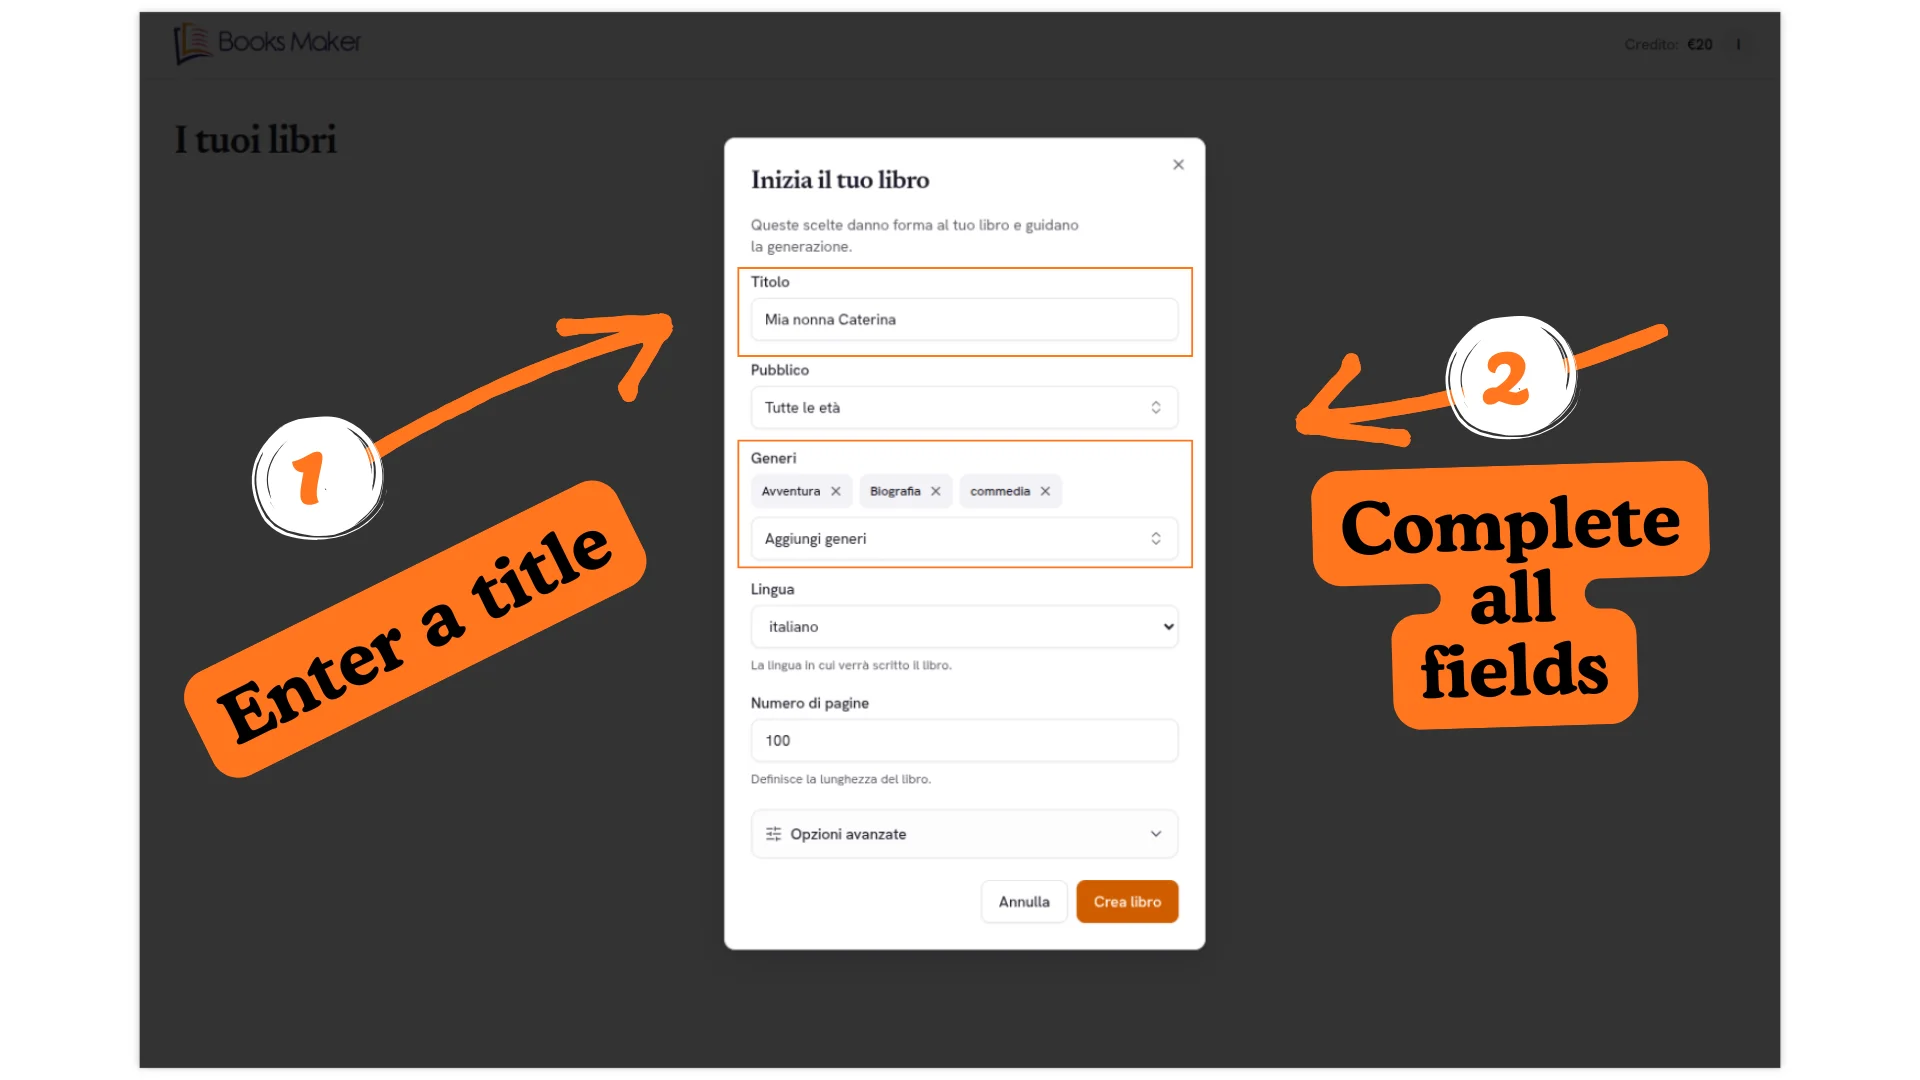
| Field | Description |
|---|---|
| Title | Your book's name |
| Audience | Select the target readers |
| Genres | Choose one or more literary genres |
| Language | The language your book will be written in. Available: English, Italian, Spanish, French, German, Portuguese, Turkish, Arabic, Chinese, Japanese, Russian |
| Page count | Defines the book's length |
| Advanced options | Additional generation settings |
Model Selection
You can choose the generation quality both during book creation and from your default settings. The quality level affects cost and the refinement of the output:
- Basic: standard quality, lower cost — ideal for drafts and first versions
- Medium: intermediate quality — good balance of cost and quality
- High: premium quality — for polished results ready to publish
Which AI model is best to use?
We recommend using the base model to learn how to use Books Maker and run initial experiments, and reserving the Premium or Ultra model to create the final version of your book. This way you get the best AI quality where it really matters, without wasting credits during the experimentation phases. Furthermore, you can use the Base model for simple books and use the higher models when you want to create more refined and complex books.
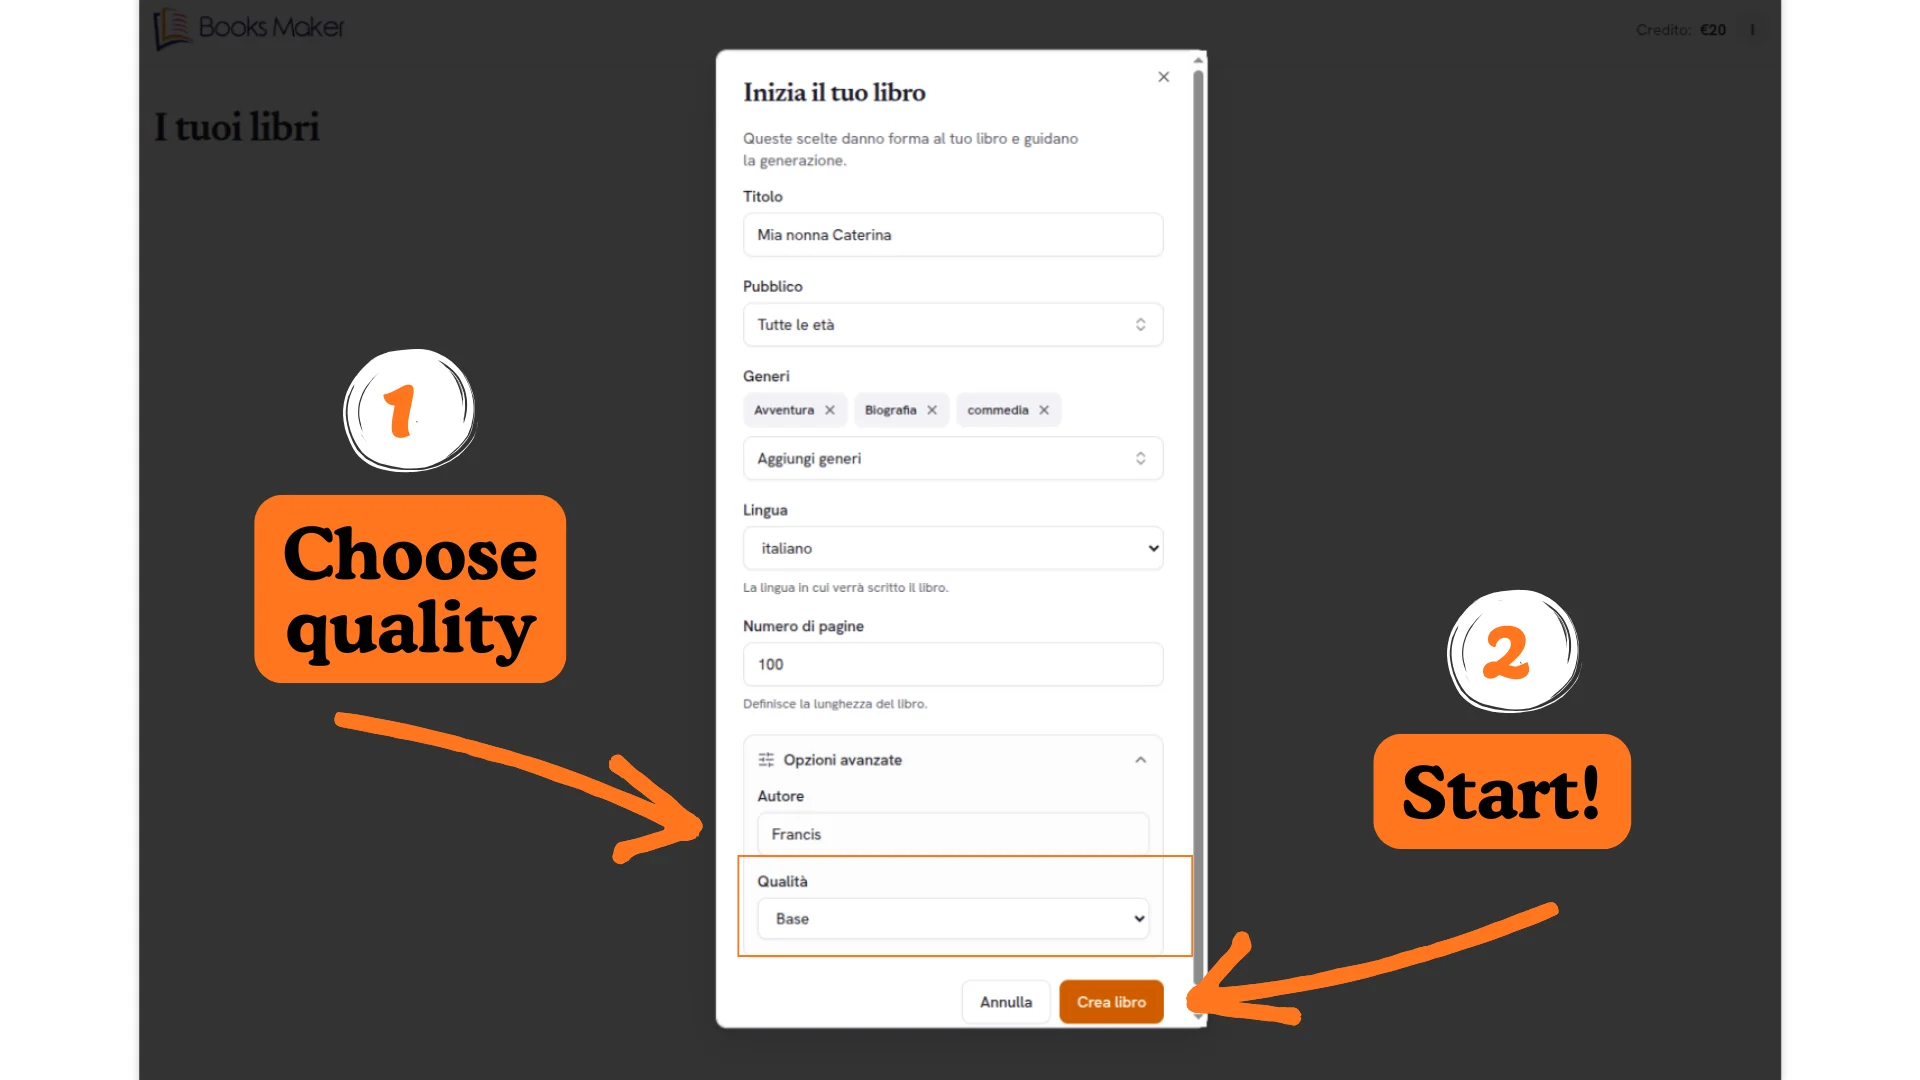
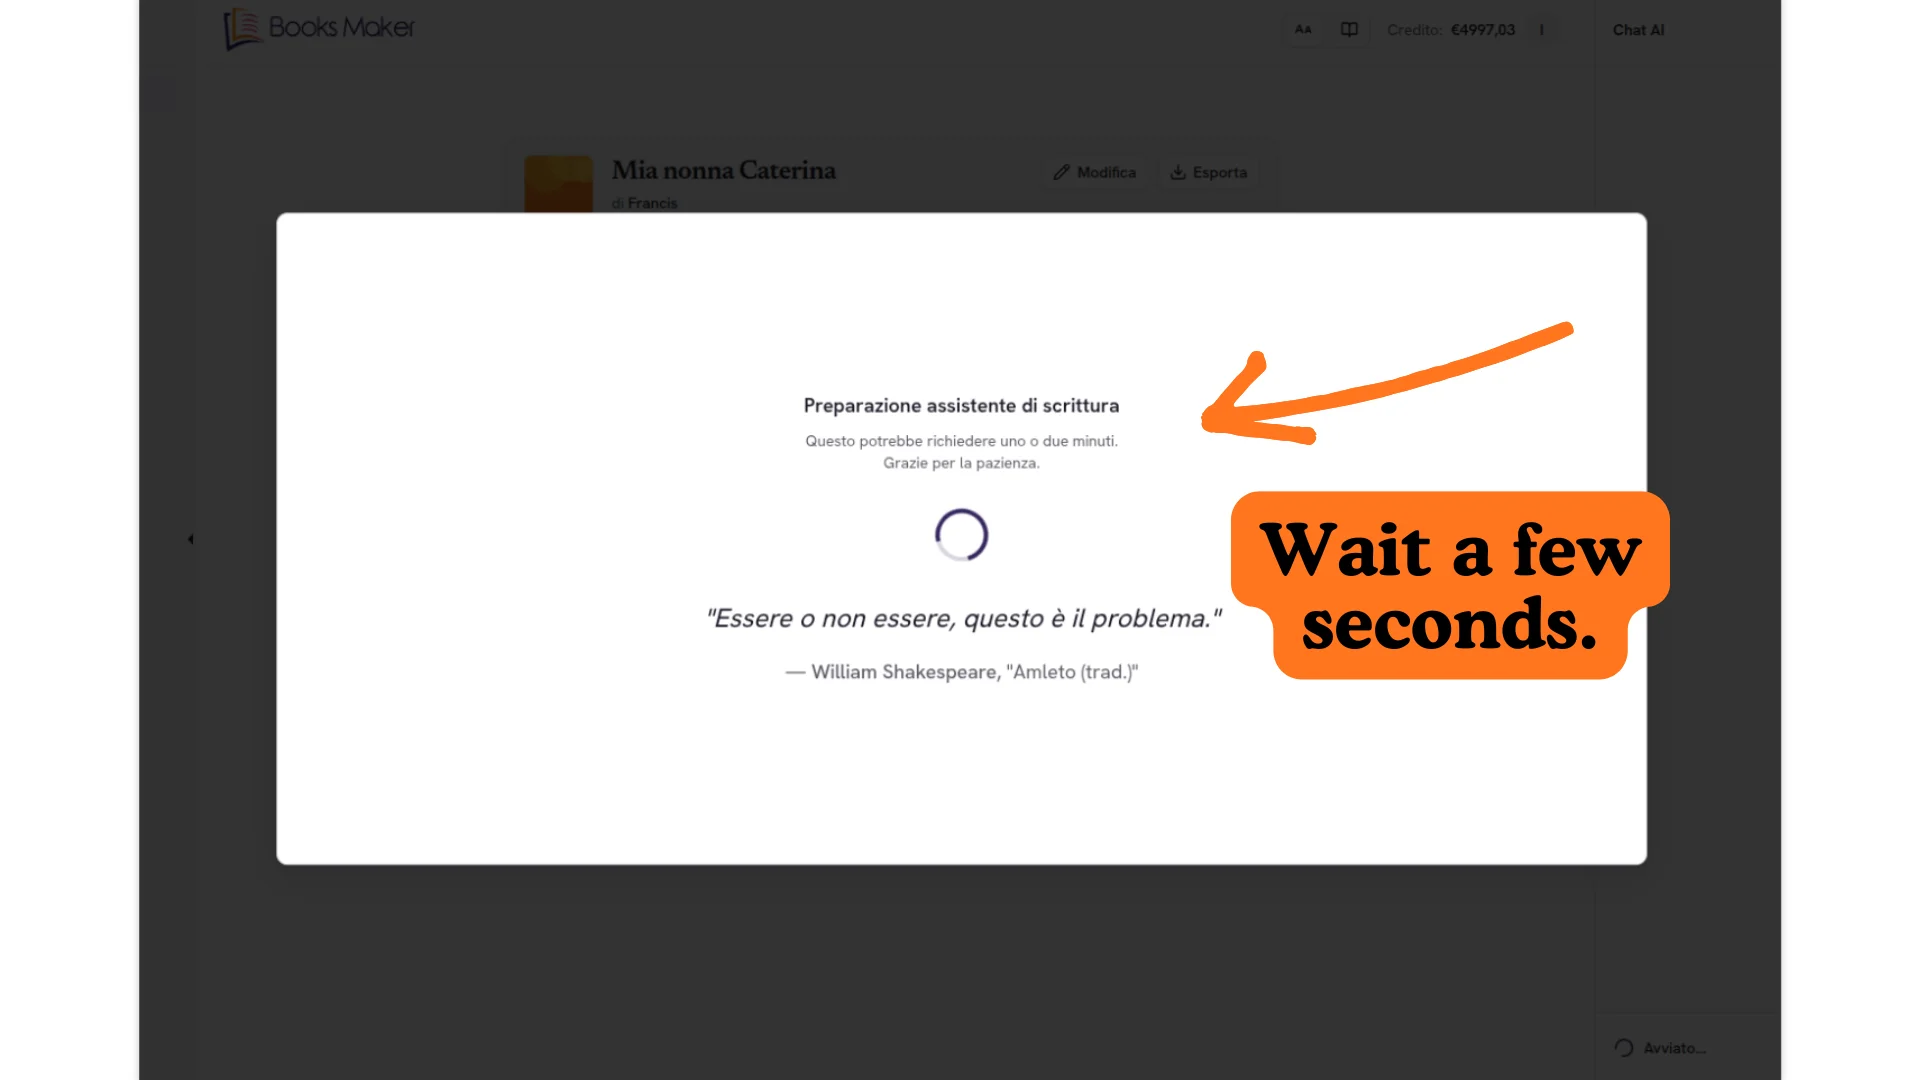
Click "Create Book" to start. The AI will prepare your book's basic structure.
What are the differences between the Base, Premium and Ultra AI models?
Books Maker offers three AI models, each designed for different needs. Here's what distinguishes them:
⚙️ Base Model — Your Everyday Ally
Characteristics: Writes in a fluid and effective way, ideal for drafts, quick ideas and not-too-complex books. Useful to learn how to use Books Maker without spending too many tokens.
What to expect: It's fast in generation but may contain some minor typos or occasional oversights that require a quick proofread.
⚡ Premium Model — Smarter and More Precise
Characteristics: A significant quality leap. Understands more complex nuances and produces structured and refined texts.
What to expect: Fewer typos, a drastically reduced error margin and notably superior writing capacity compared to the Base model, but it may be slightly slower.
✨ Ultra Model — Professional Editor Quality
Characteristics: The best technology at your disposal. It's designed for those seeking stylistic perfection, impeccable and extremely complex content.
What to expect: Writes with the quality and care of a professional editor, adapts best to your writing style and is able to create books with high logical complexity.
The Ultra model may also be slower in writing.
💡 Tip: We recommend using the base model to learn how to use Books Maker and run initial trials, and reserving the Premium or Ultra model to create the final version of your book. This way you get the best AI quality where it really matters, without wasting credits during the experimentation phases.
Furthermore, you can use the Base model for simple books and use the higher models when you want to create more refined and complex books.
Editor Overview
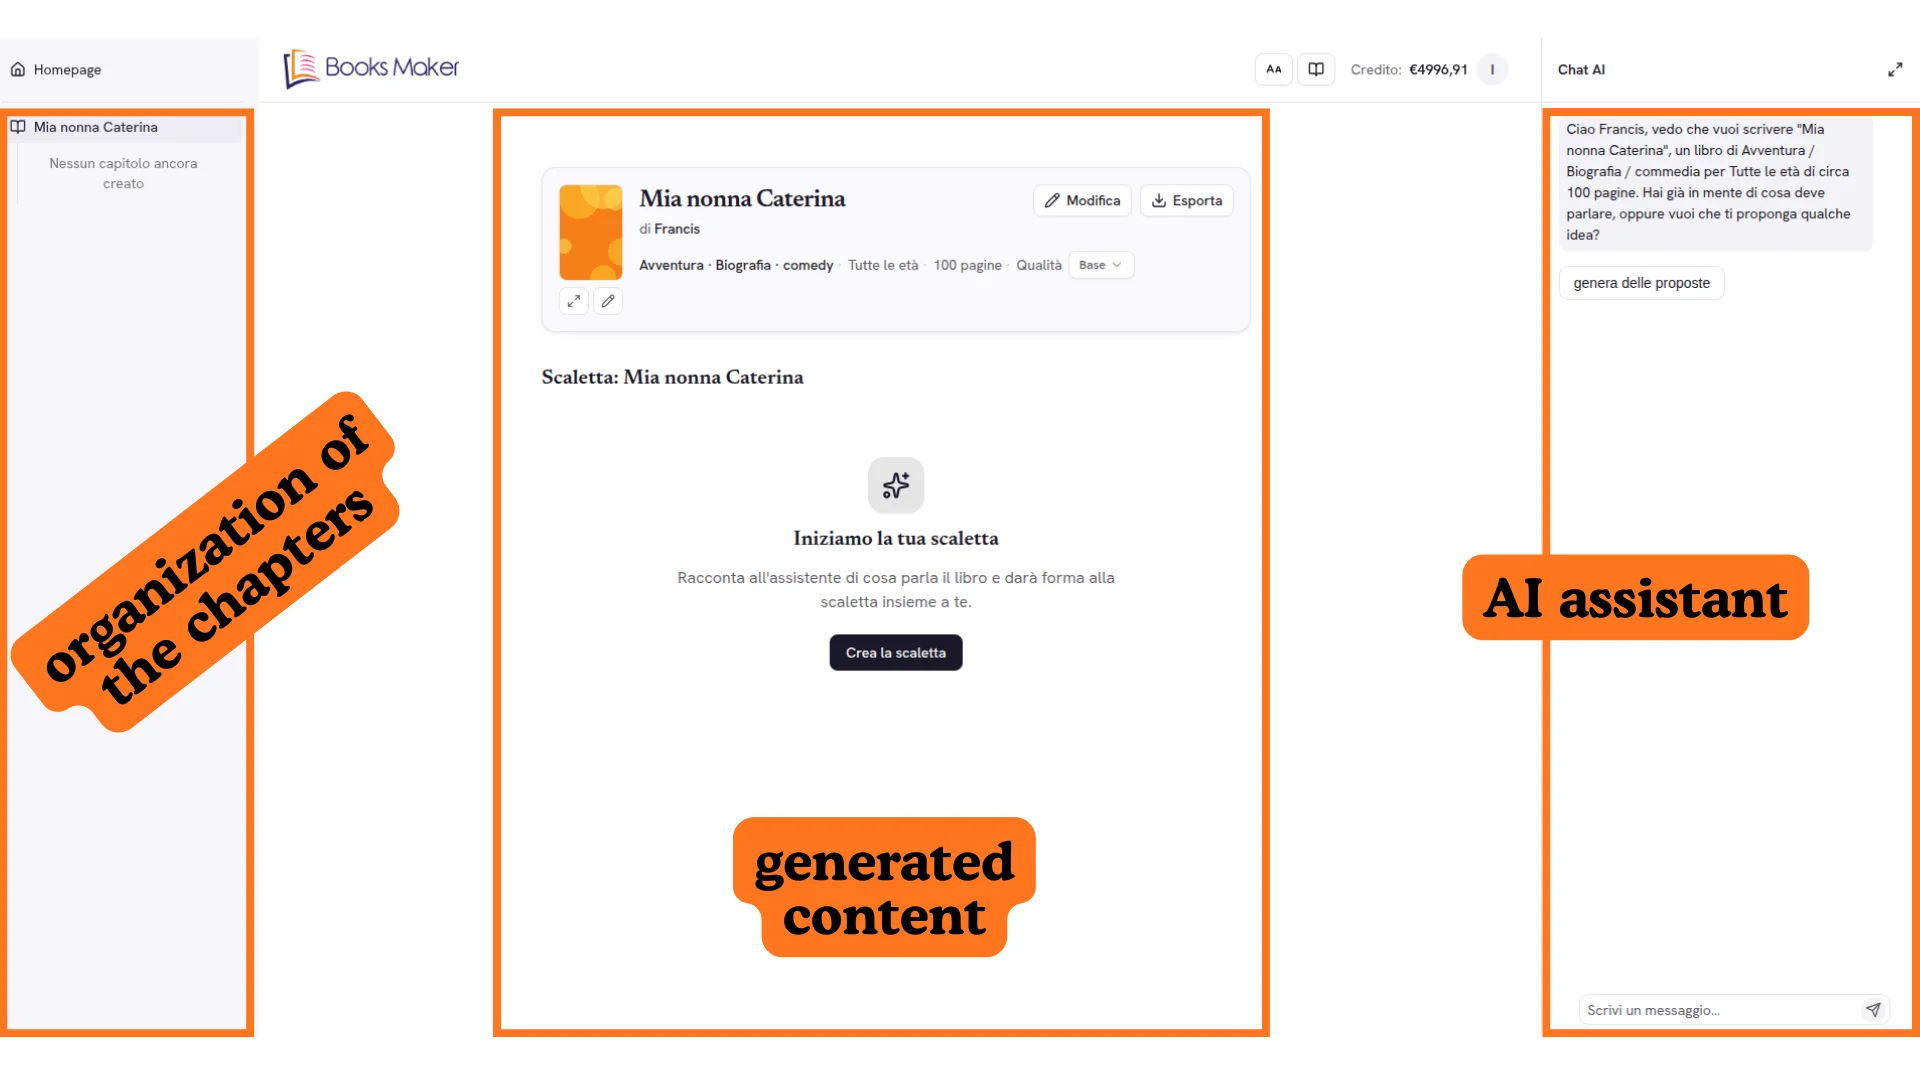
The editor consists of three main areas:
- Left: your book with full outline, chapter outline, and chapter content
- Center: the book content
- Right: AI assistant
Creating the Outline
Start by creating the outline or generating proposals through the AI assistant.
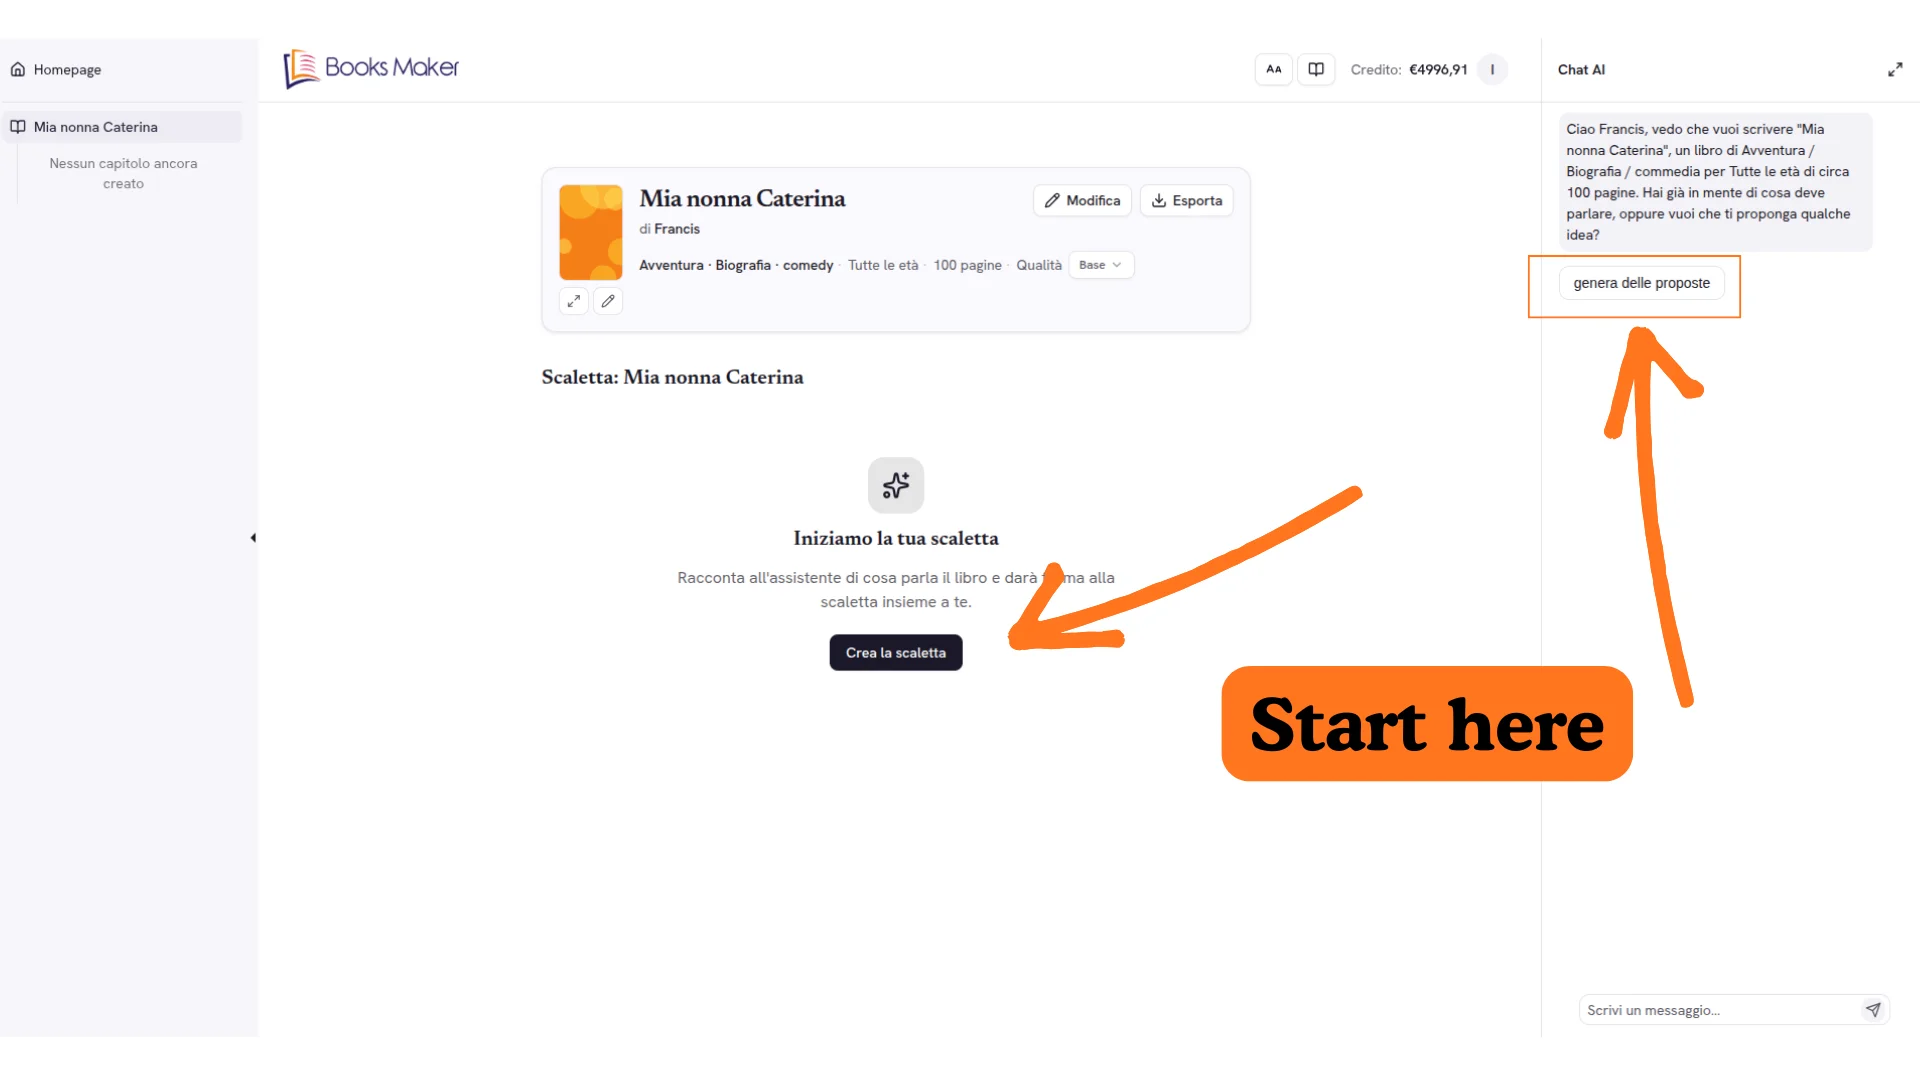
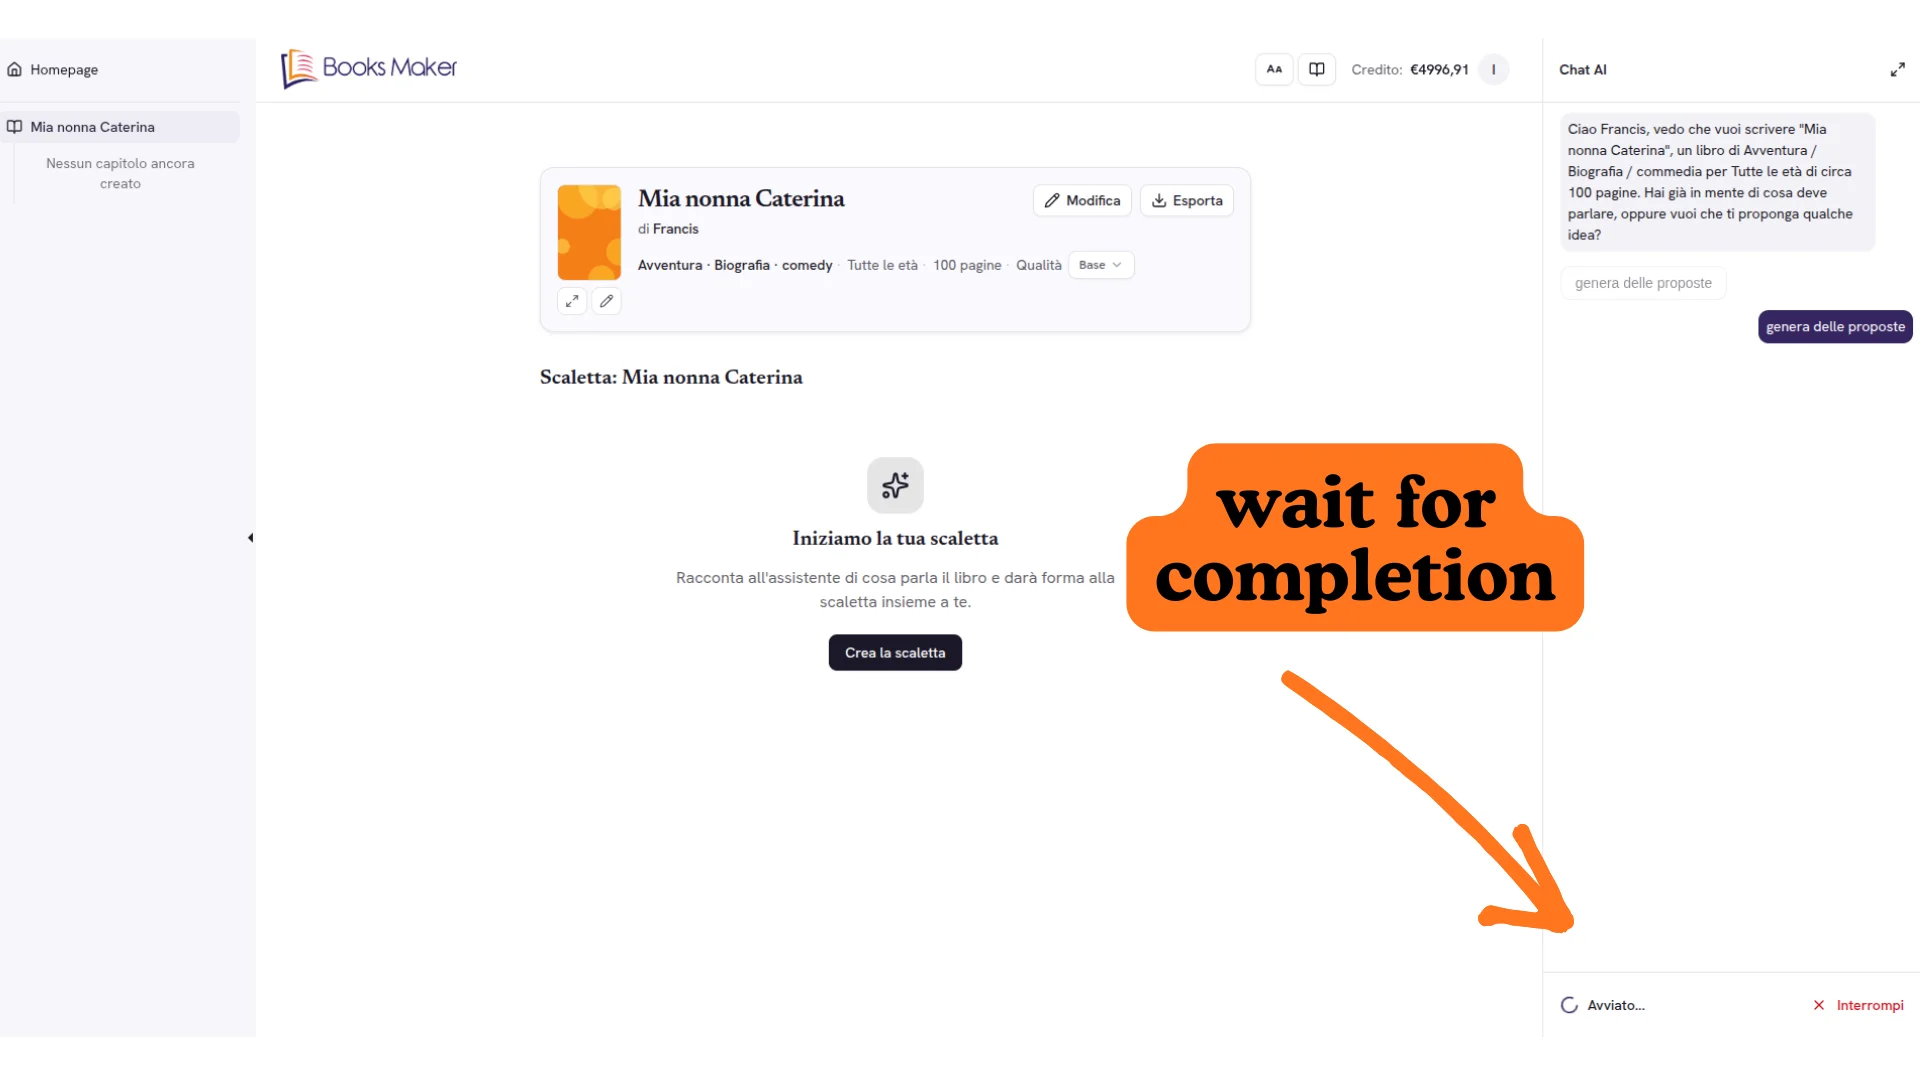
On the left, your book's hierarchy is created: outline and content.
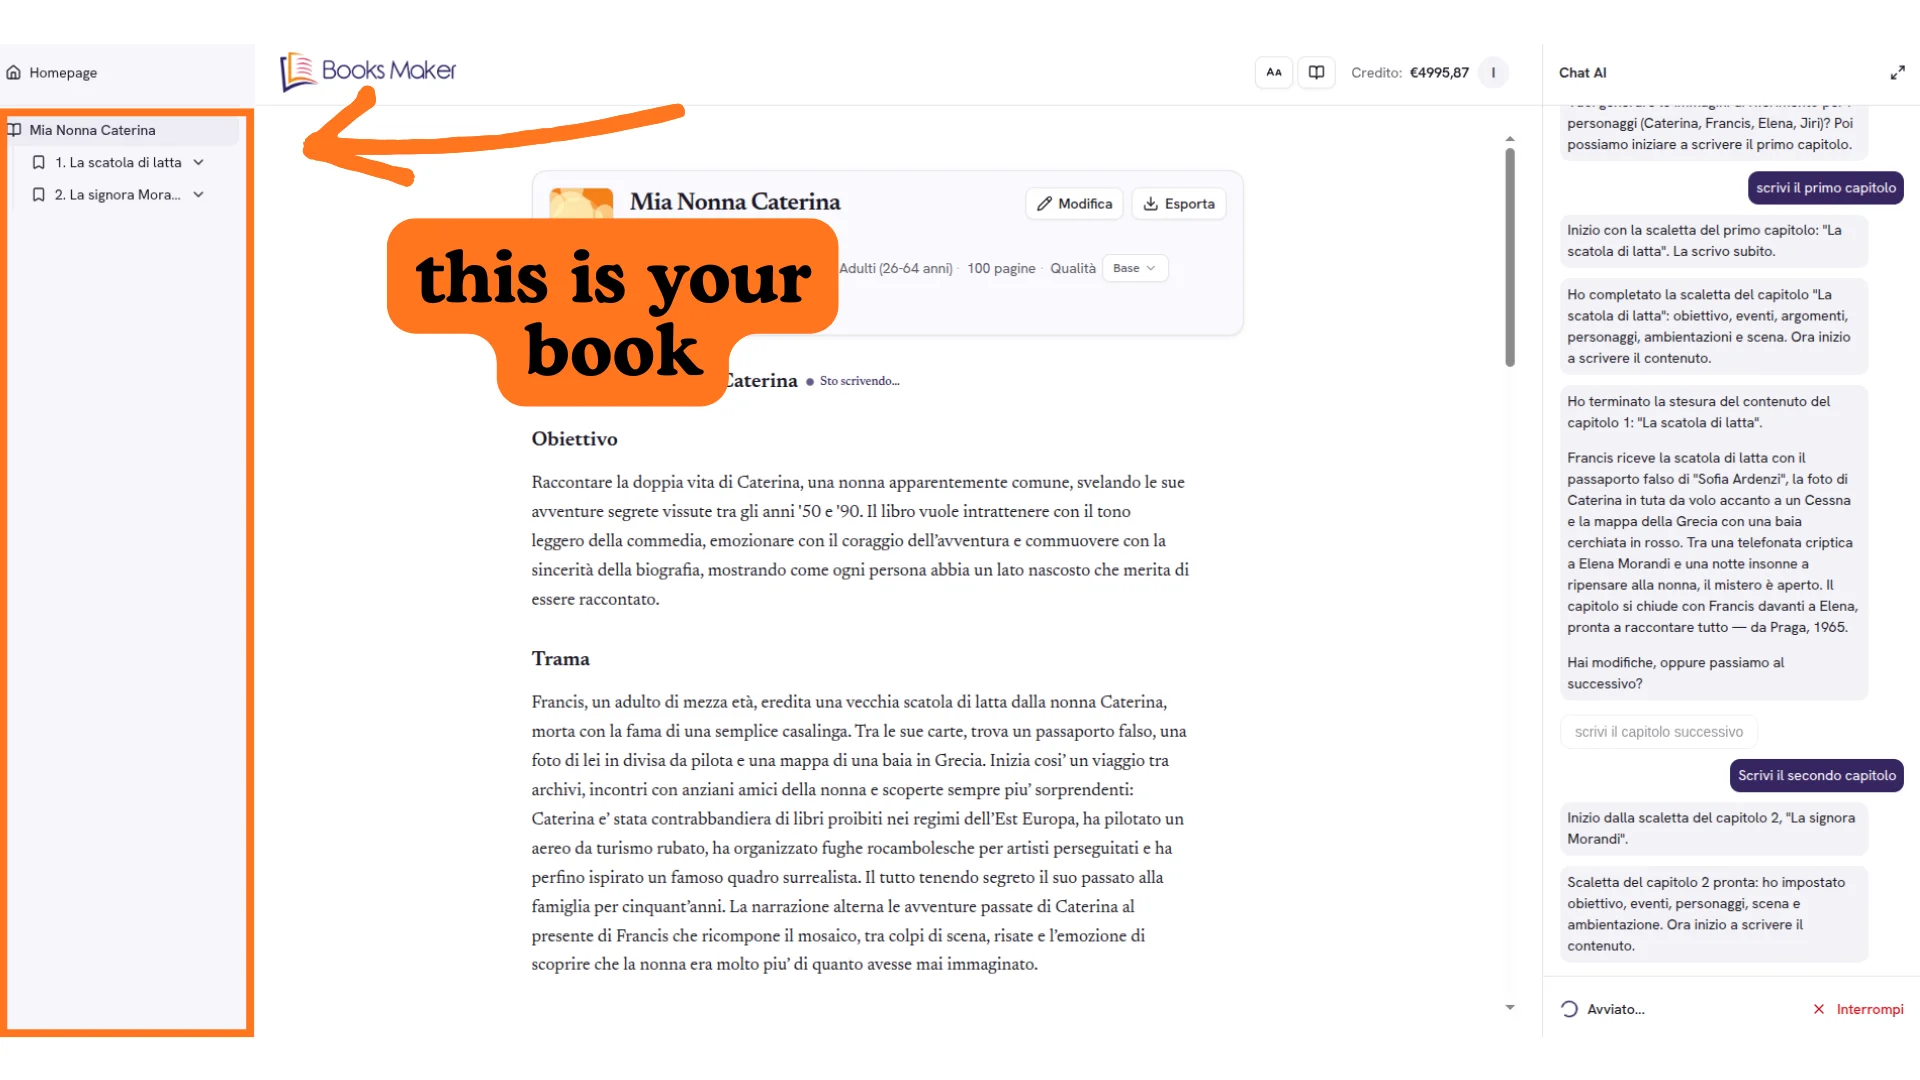
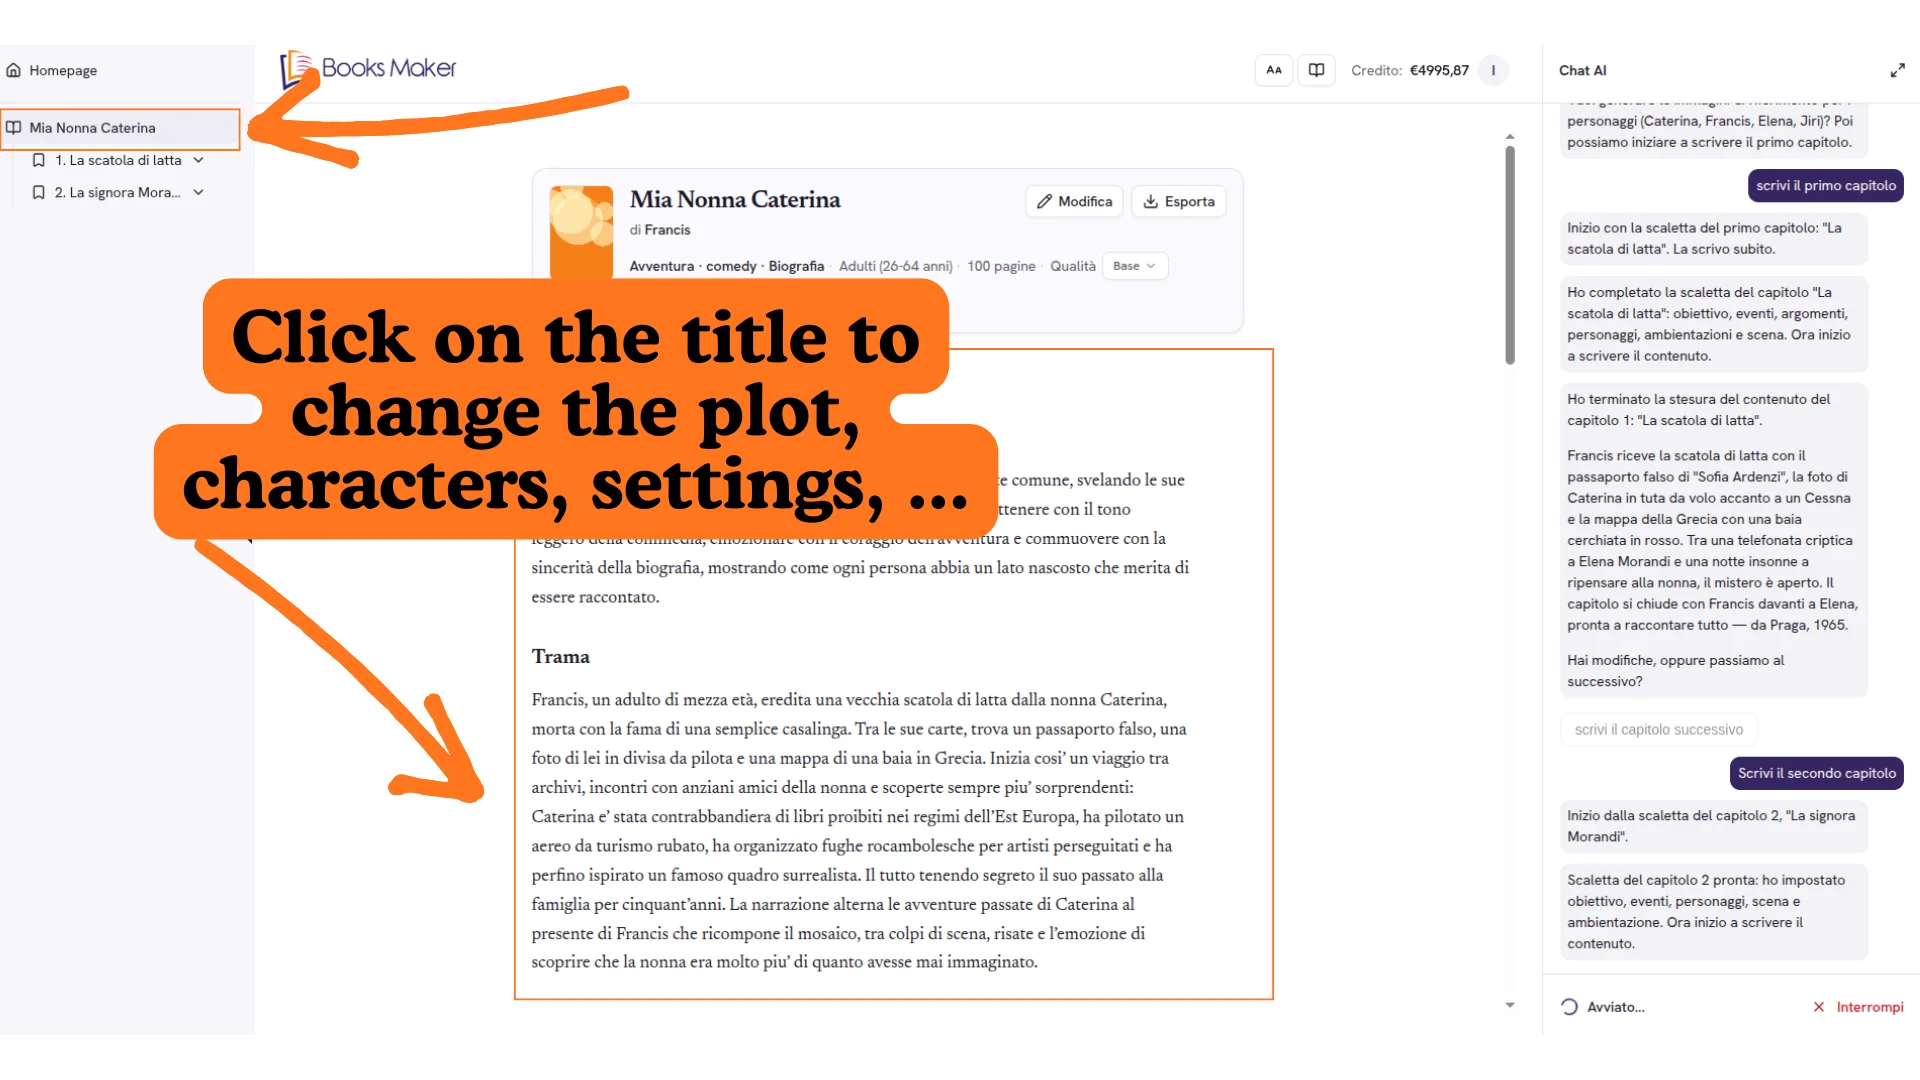
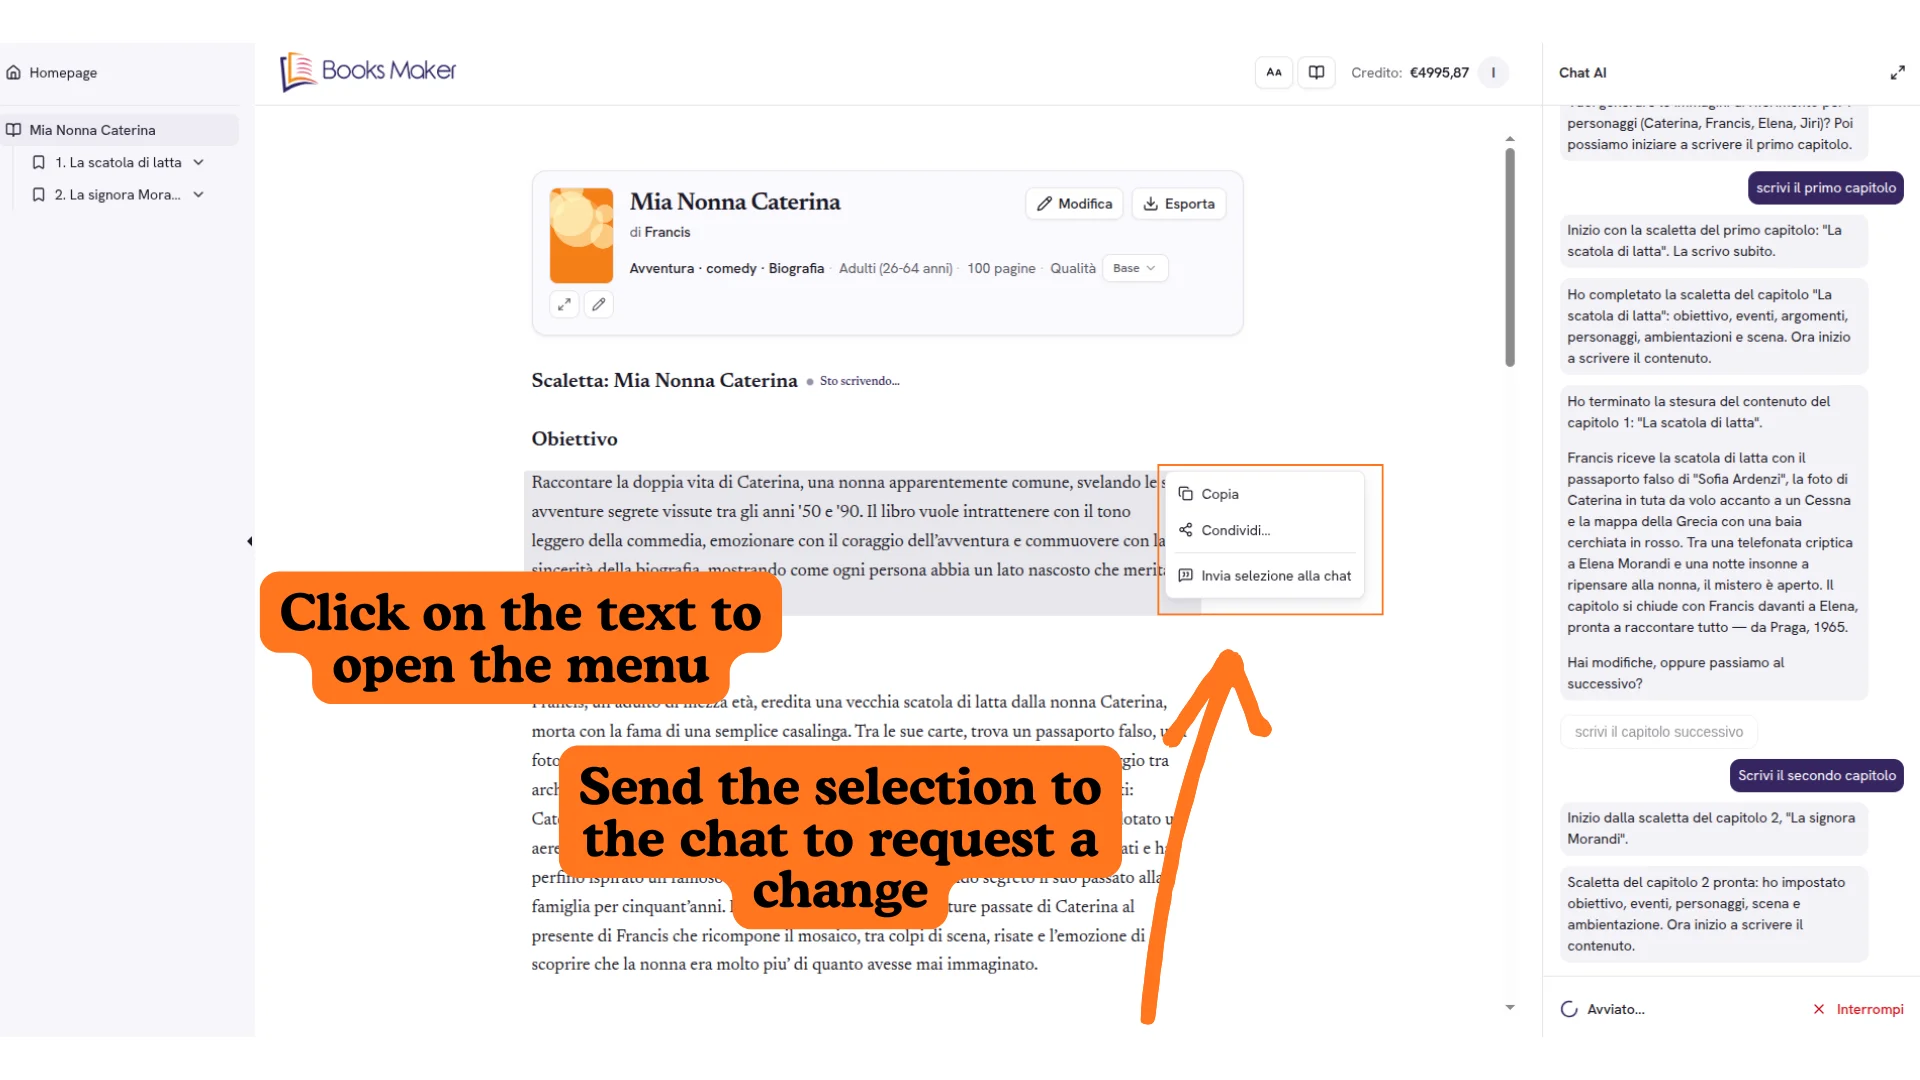
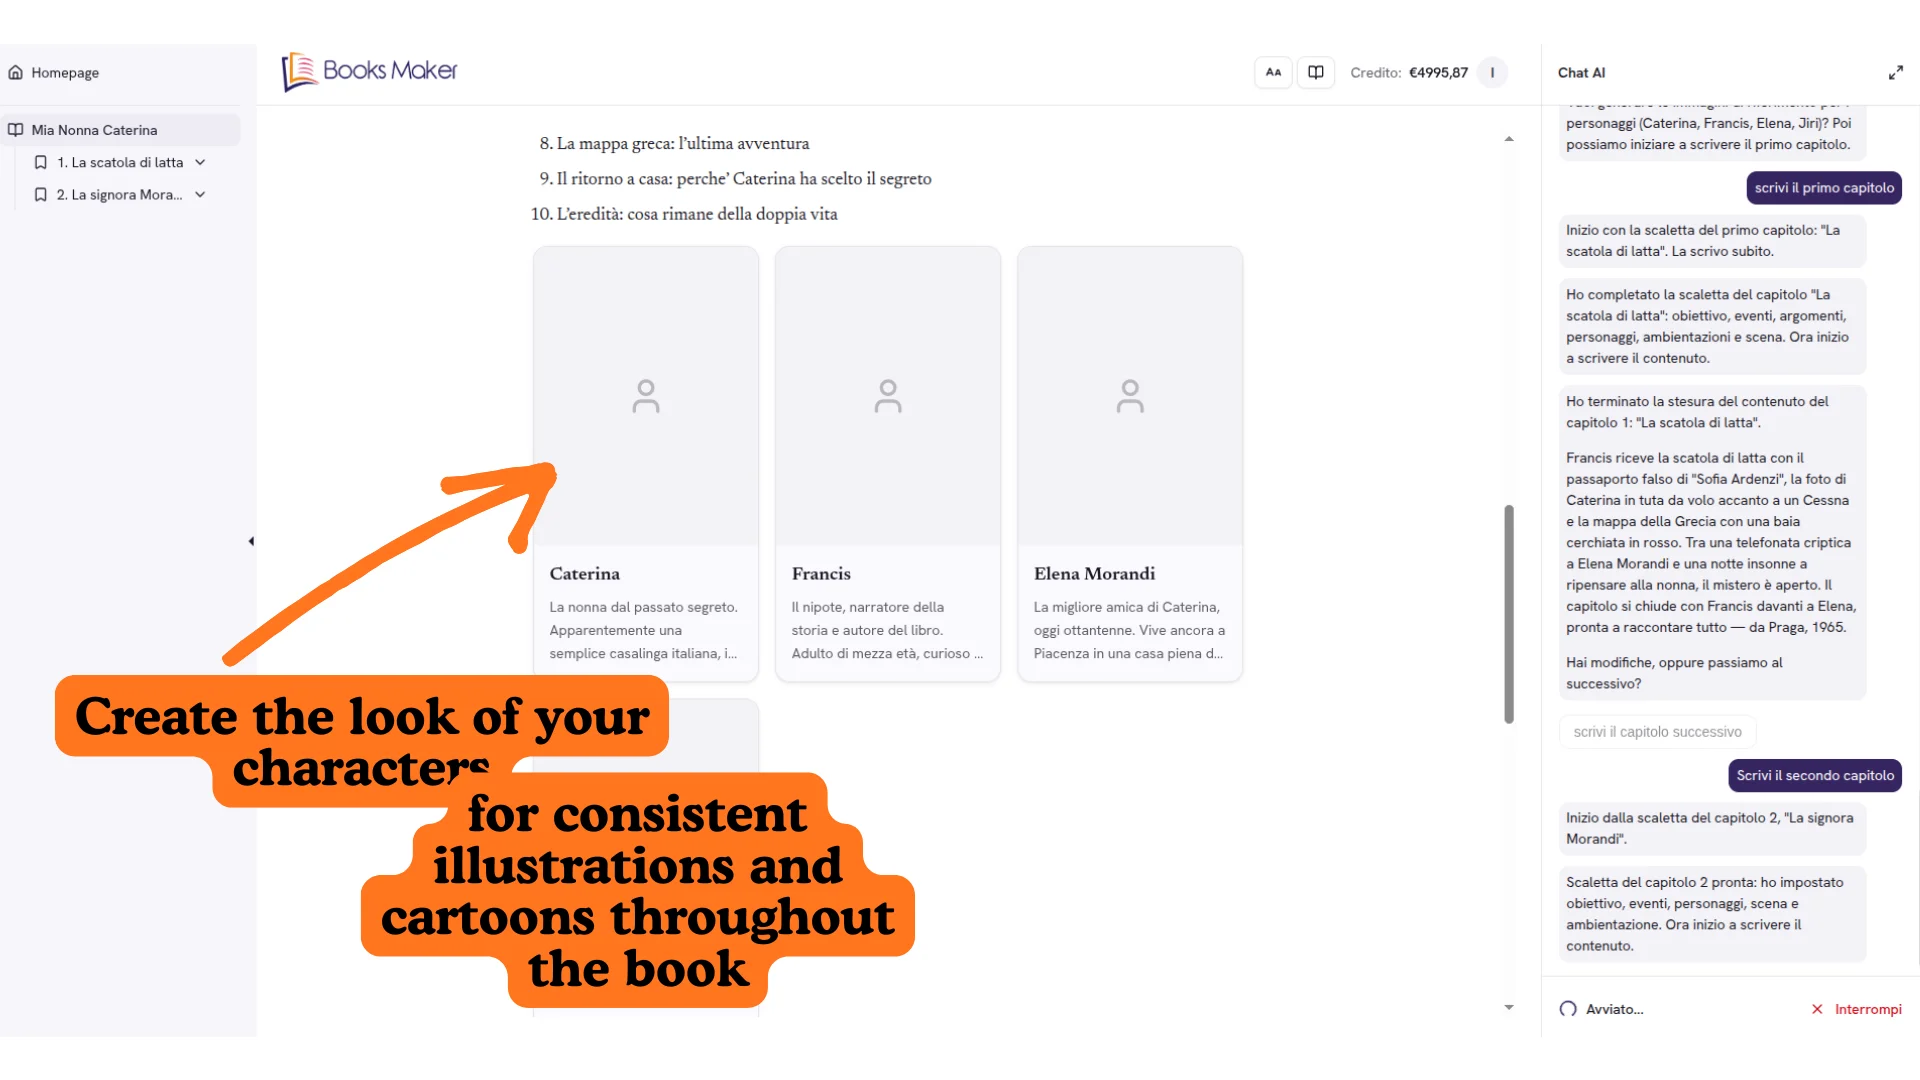
Click on the book title to edit the full outline, plot, characters, settings. Click on a paragraph and select "Send selection to chat" to ask the assistant for modifications.
AI Chat & Editing
The AI Chat section lets you interact with the writing assistant. The menu has different options depending on whether you're in the outline or in a chapter.
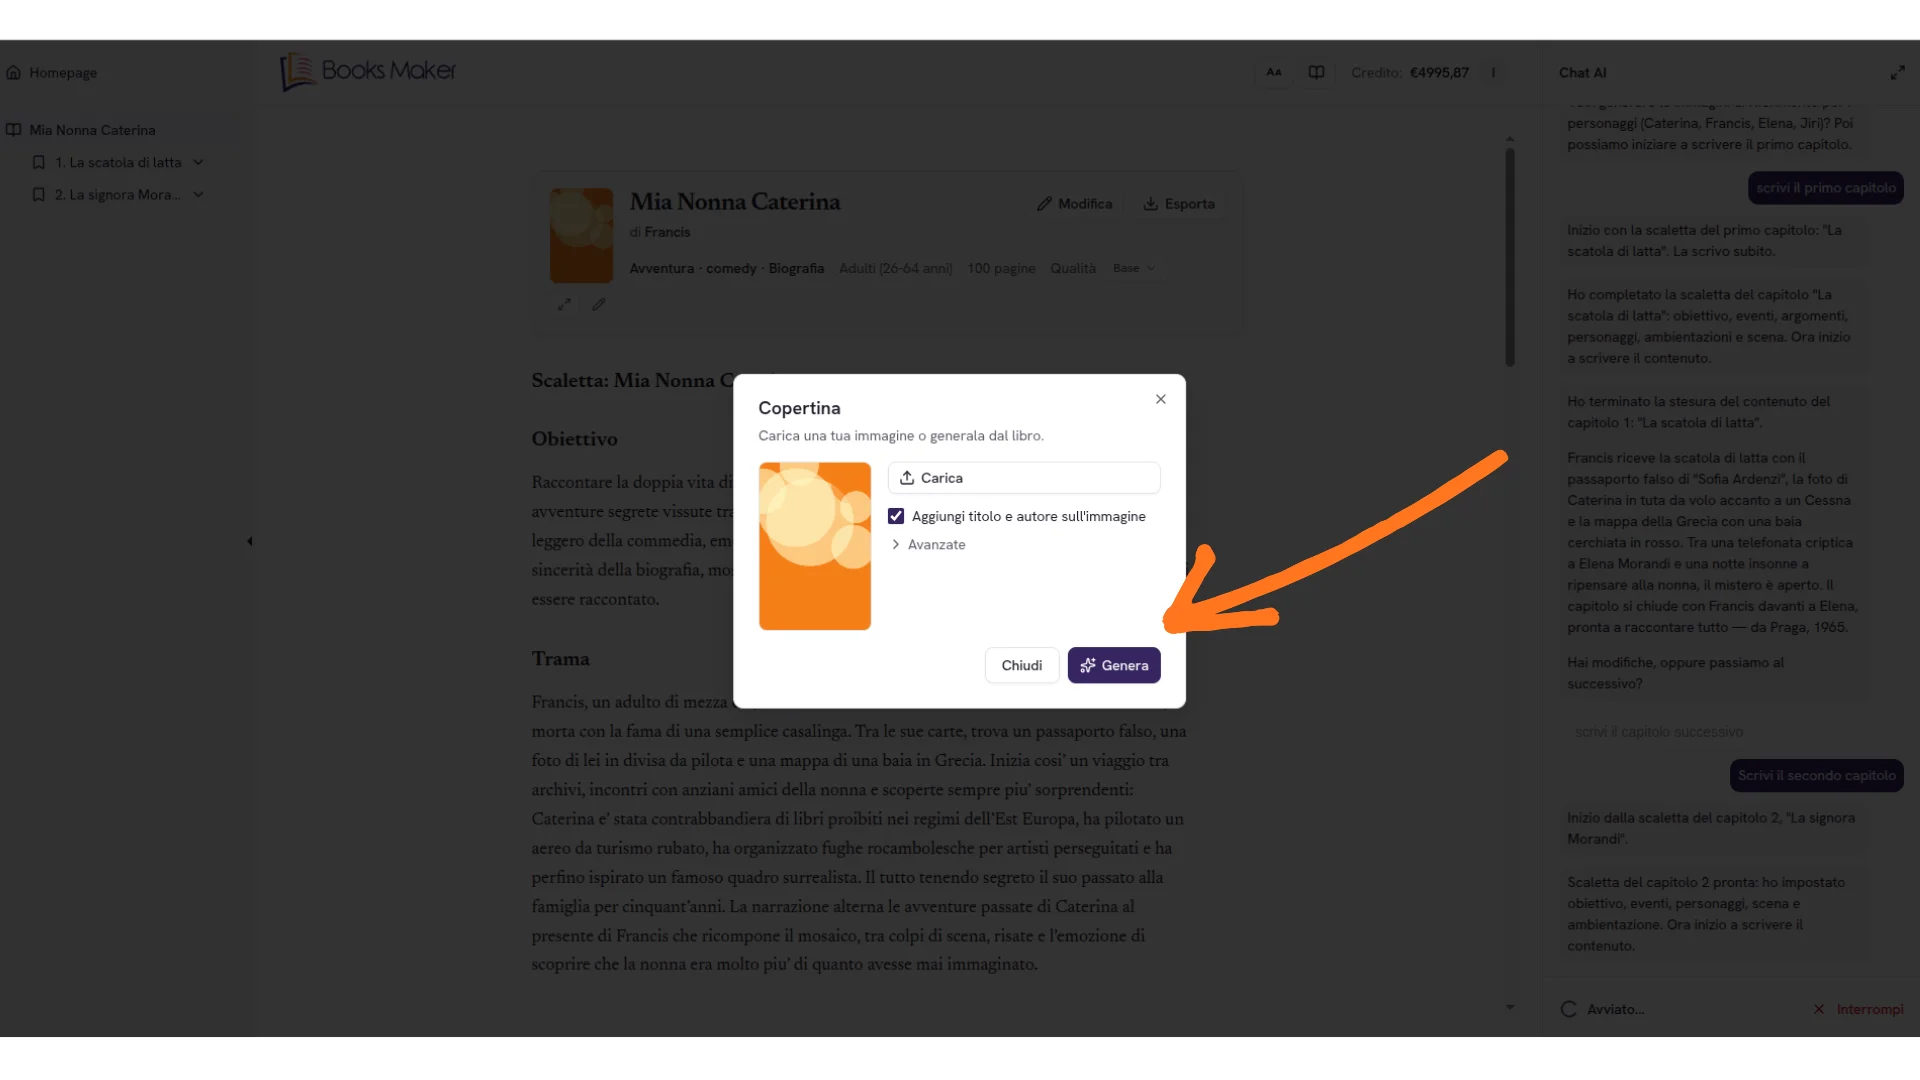
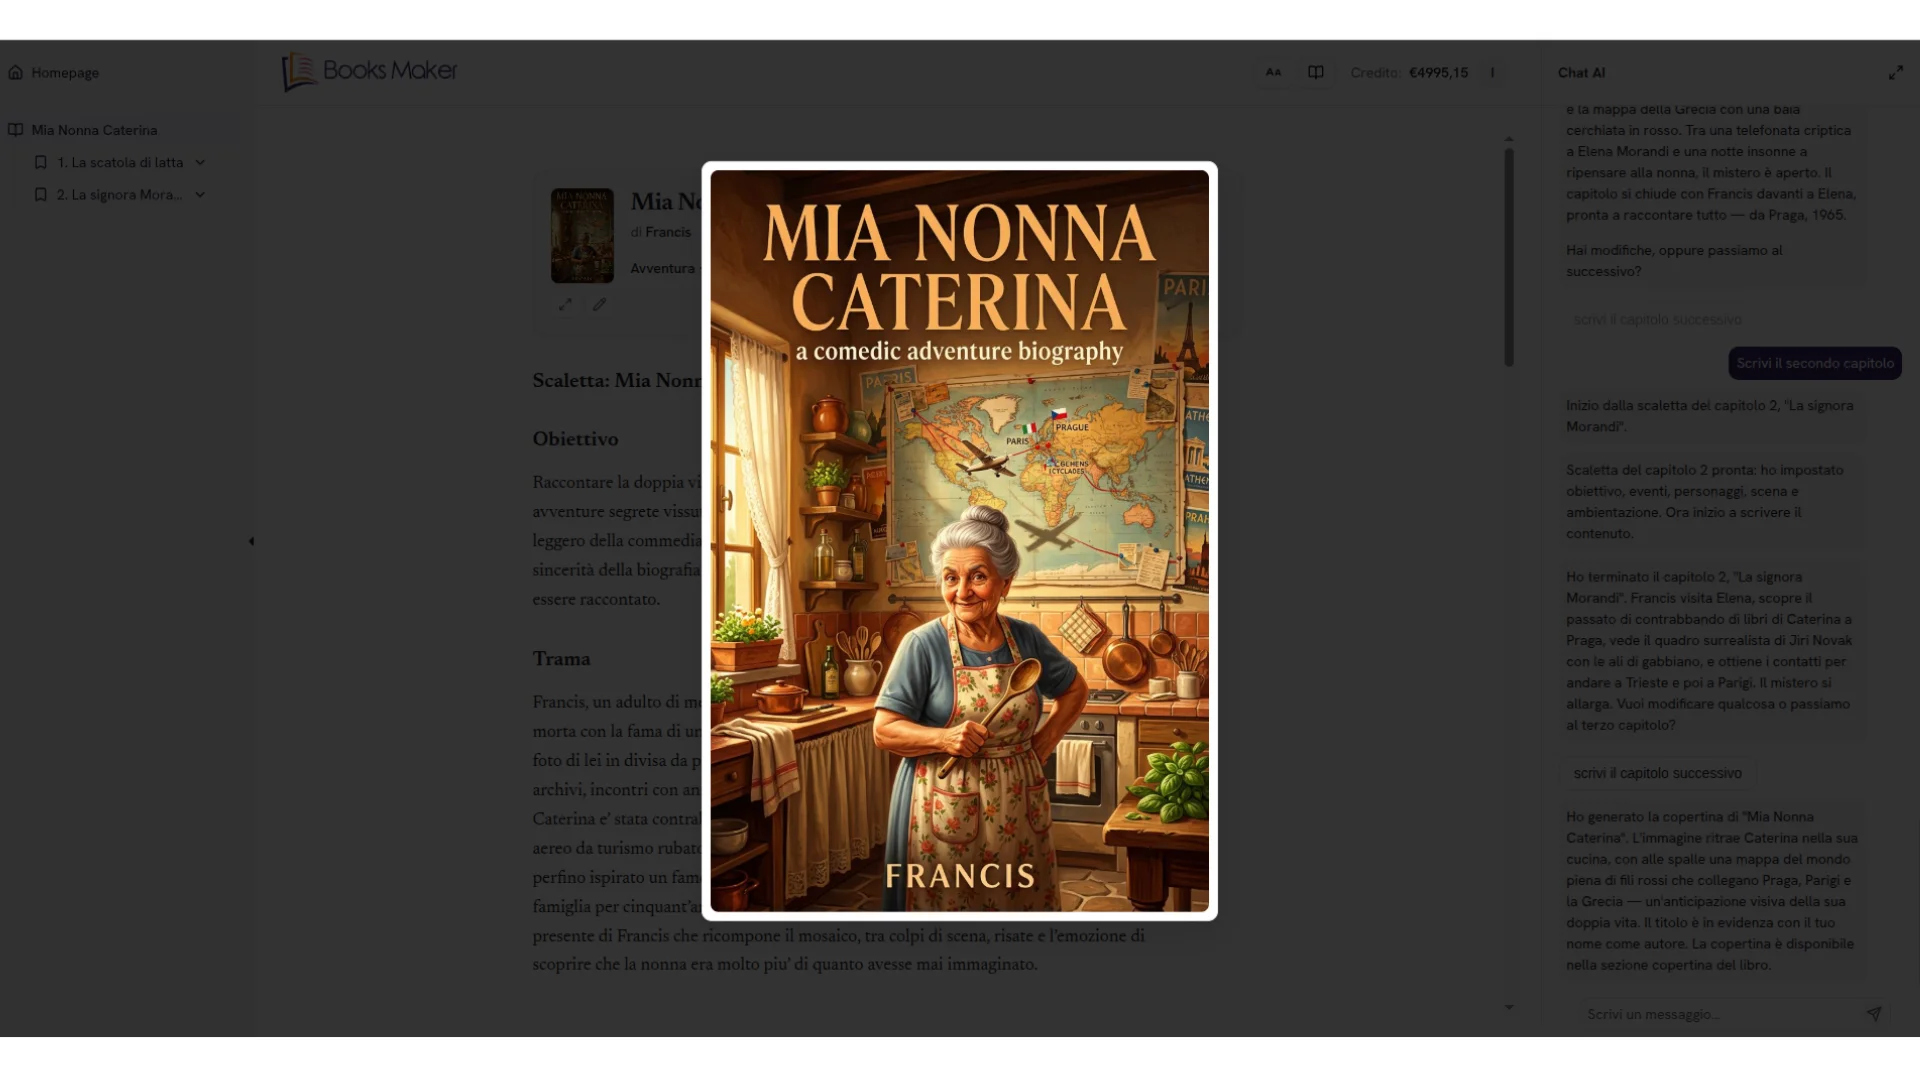
Book Cover
Note on AI image generation
Following the entry into force of the AI Act, we have removed AI image generation to ensure the highest level of copyright protection and content safety. In the meantime, you can continue to customize your books by uploading your own images directly via the upload option.
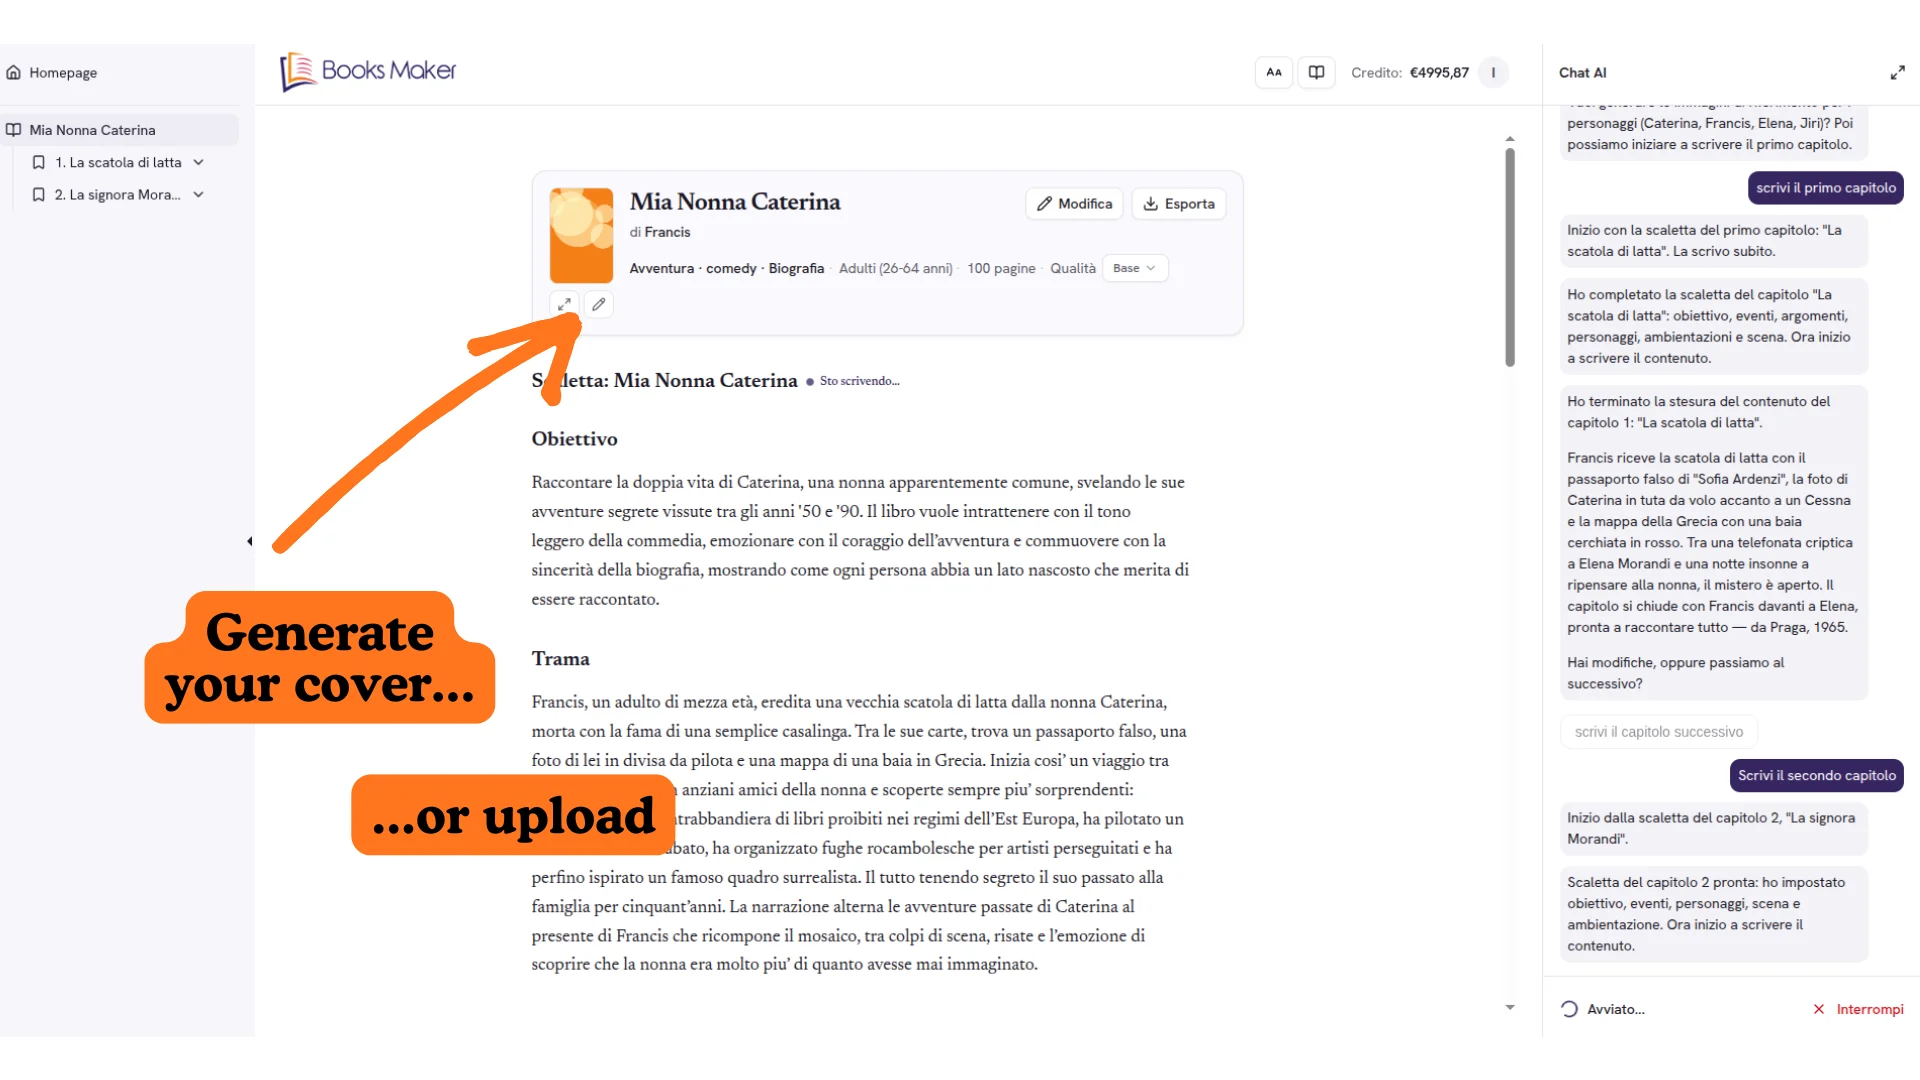
You can customize your book by uploading your cover via the upload option. Select the cover image from your device and apply it to your book.
Exporting
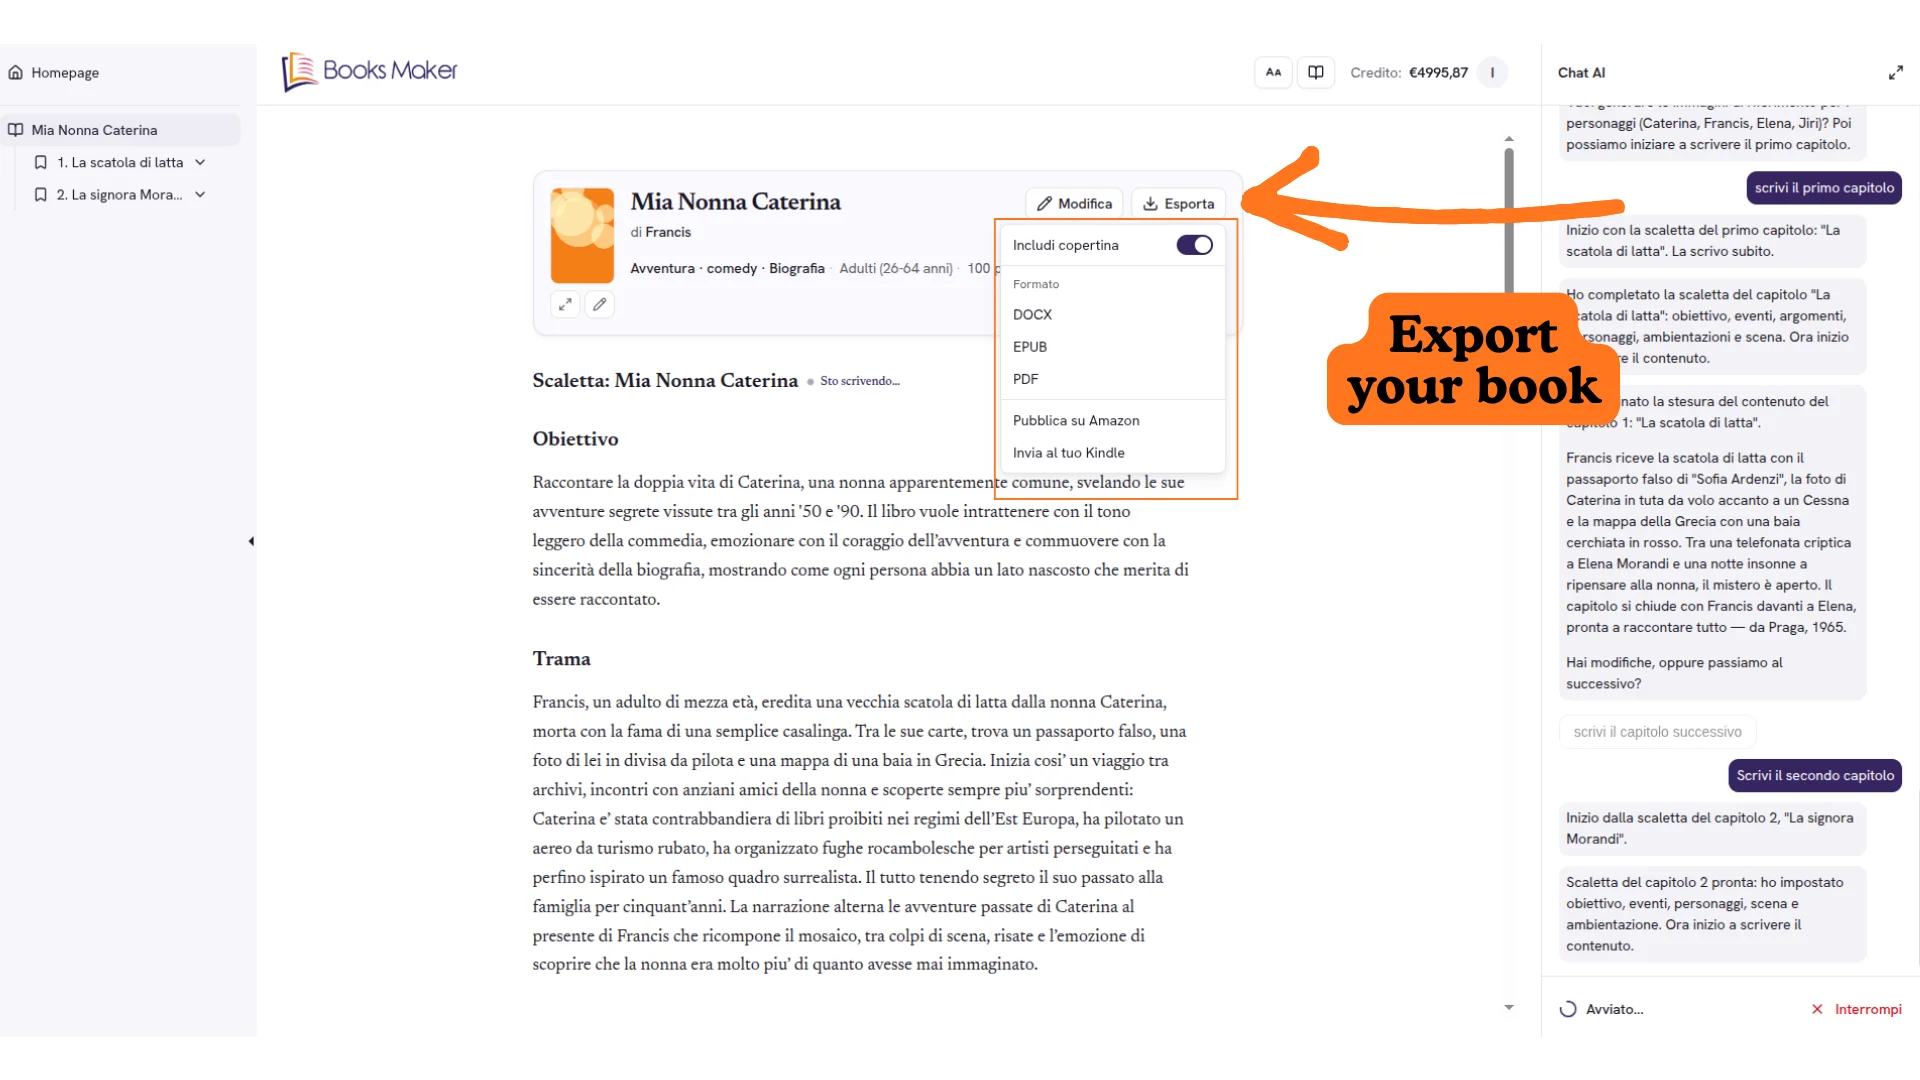
You can export your book in DOCX, PDF, EPUB, send it to your Kindle, or export the KDP package ready for Amazon publishing.
Uploading Images to Your Book
Note on AI image generation
Following the entry into force of the AI Act, we have removed AI image generation to ensure the highest level of copyright protection and content safety. In the meantime, you can continue to customize your books by uploading your own images directly via the upload option.
Expand the chapter from the sidebar, enter the chapter to edit it, click on the paragraph to bring up the three-dot menu. From here you can upload an image to the book via the upload option.
Editor Settings
In the editor header you can change the font size and background color to improve readability. Another icon lets you enter reading mode.
Profile Settings
Accessible from the user menu (avatar icon) → Settings.
Profile
- Email: your registered email
- Username: used as the default author name on your books
- Kindle address: for the "Send to Kindle" feature (must end with @kindle.com)
Default New Books
- Language: choose the default language for new books
- Quality: Basic, Medium, High
Appearance & Language
- Interface theme: Light, Paper, Sepia, Gray, Indigo, Dark
- Interface language: English or Italian
Account
- Change email
- Delete account (irreversible: you lose books, chapters, credits)
Credits & Billing
Accessible from the user menu → Billing.
Available Credit
Your balance in euros. It is consumed as the AI writes your book.
Payment Management
- Manage cards: view and update your payment methods
- Top-up credit: minimum €10, larger amounts in multiples of €5 (€15, €20, €35, €50, etc.)
Payment History
List of completed transactions.